Export AD Users:
csvde -d "ou=Main-Site,dc=pnl,dc=com" -f C:\ExportedUsers.csv
Import AD Users:
csvde -i -f c:\filename.csv
Step 1 Export Domain Users to CSV File
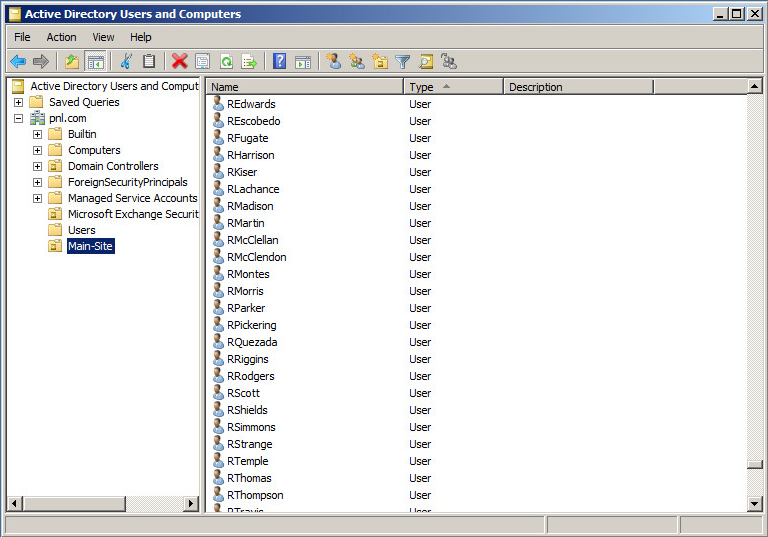
1. Here all my users are in one OU, if that OU has ‘nested OU’s within it that’s OK.
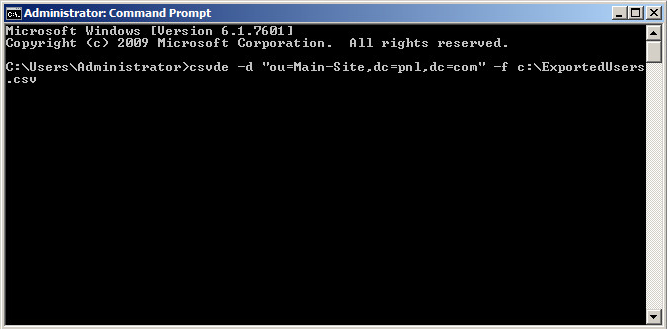
2. The command to ‘export’ is as follows;
Note: You need to ‘run as administrator‘
csvde -d {LDAP Path} -f c:\filename.csv

Example

csvde -d "ou=Main-Site,dc=pnl,dc=com" -f C:\ExportedUsers.csv
3. The users will be exported. If it fails at this point it will give you a descriptive error, CSVDE has been around for a while, Google the error (most fixes are pretty simple).

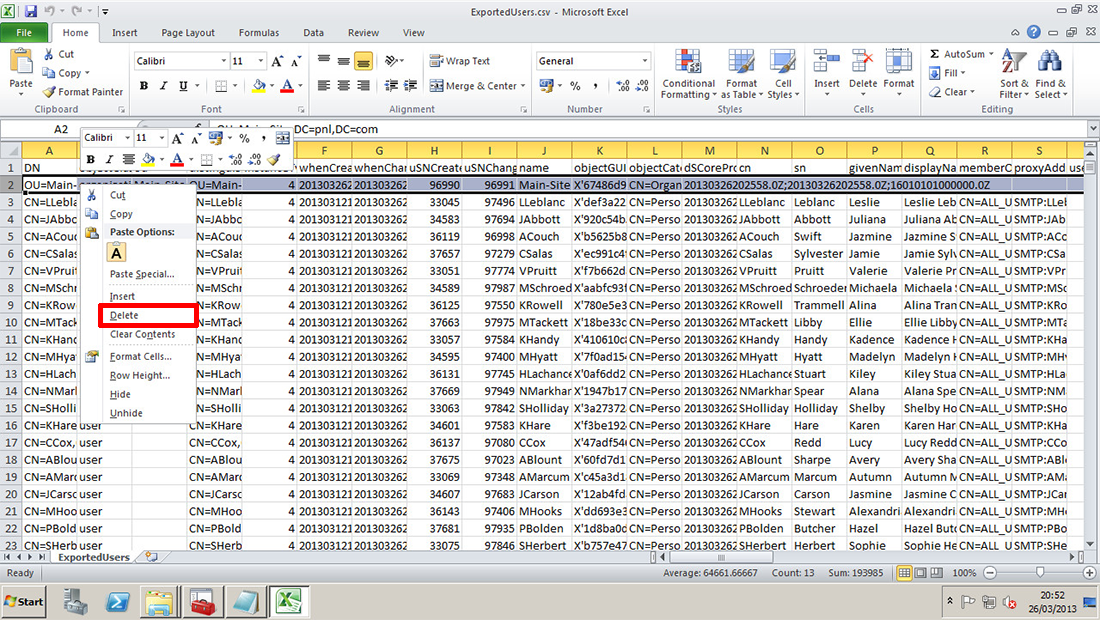
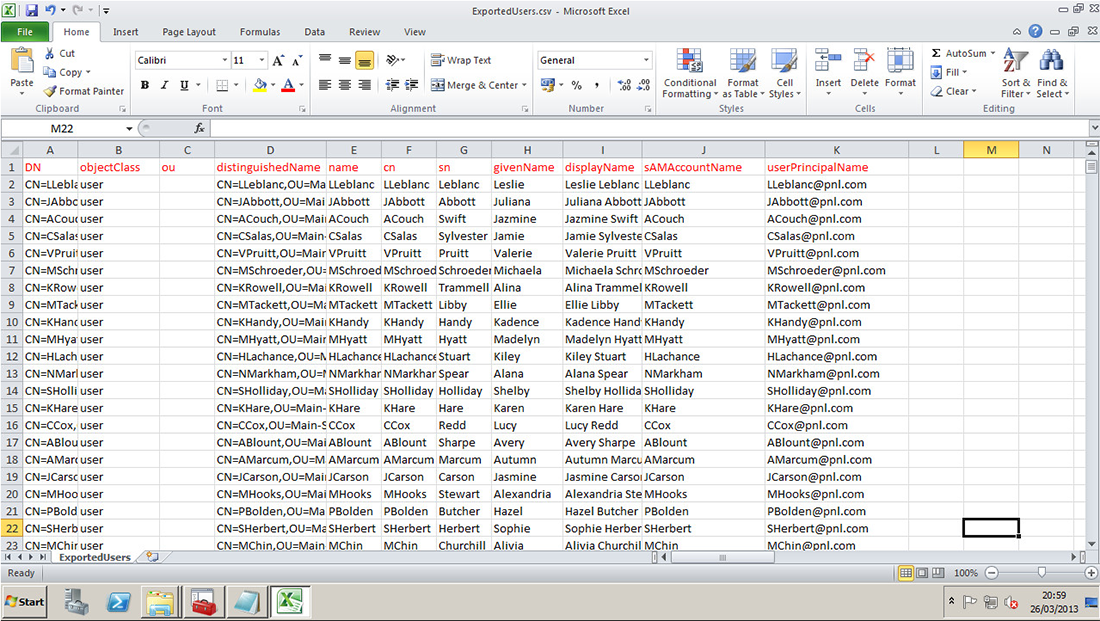
4. Now open the CSV File with Excel, the second line will probably be the OU, you can leave this here if you want but if your target OU is different (or Like me you prefer to create it manually), then delete row 2 (Don’t delete Row 1!).
5. You do not need all the columns, delete all the columns EXCEPT,
DN
objectClass
ou
distinguishedName
name
cn
sn
givenName
displayName
sAMAccountName
userPrincipalName
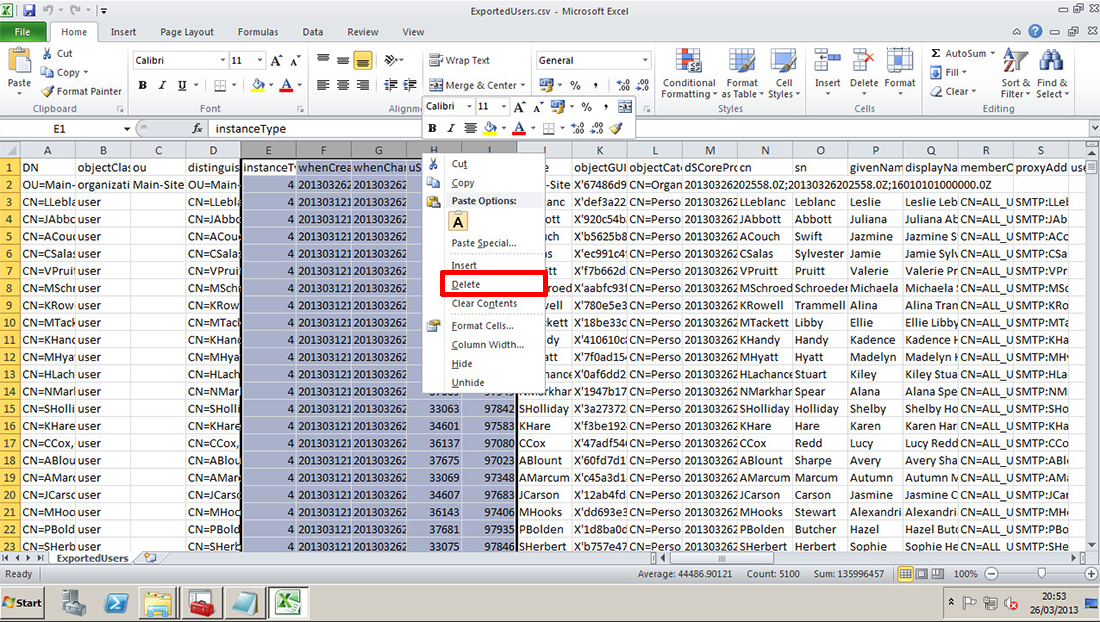
So when complete it should look like the following;
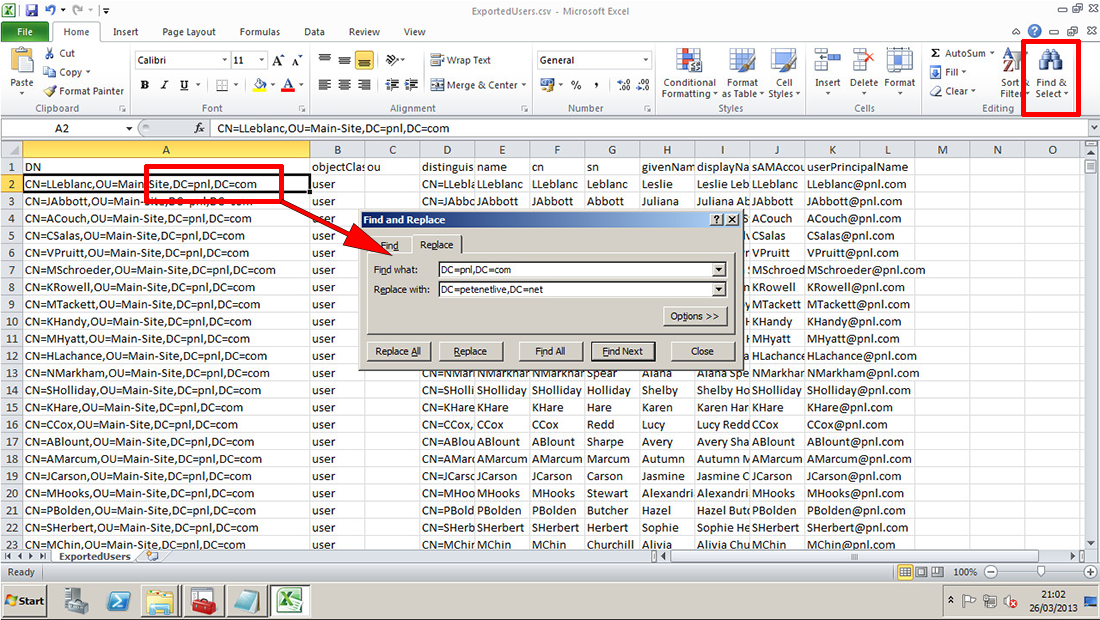
6. Change any details in the LDAP path that are different for the new domain.
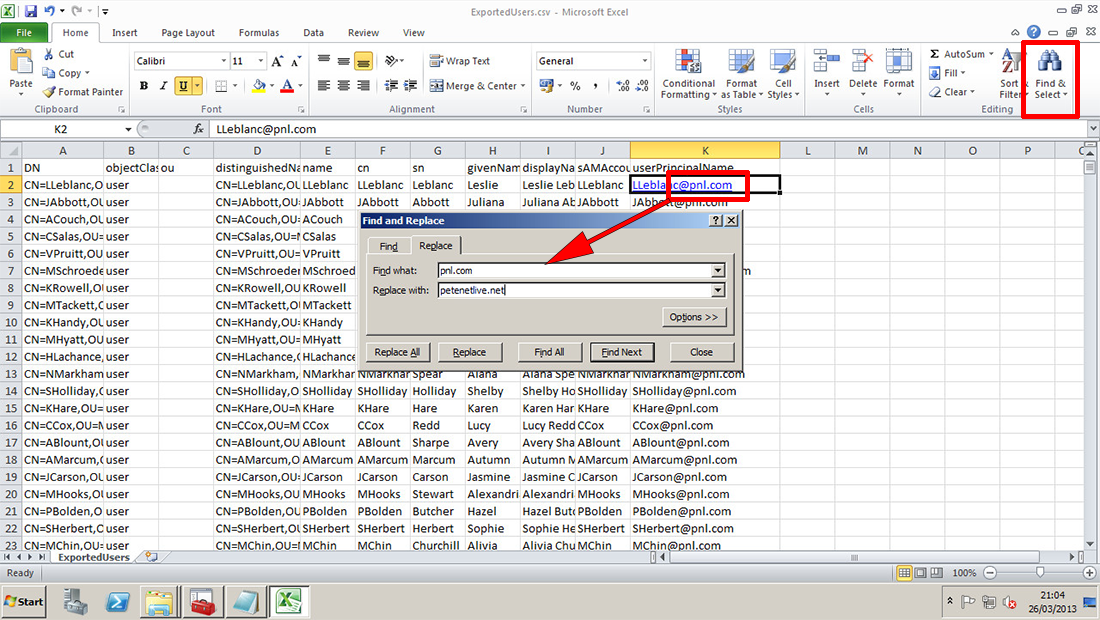
7. You may also need to change the domain name that’s listed on the userPrincipleName.
Step 2 Import Domain Users from CSV File
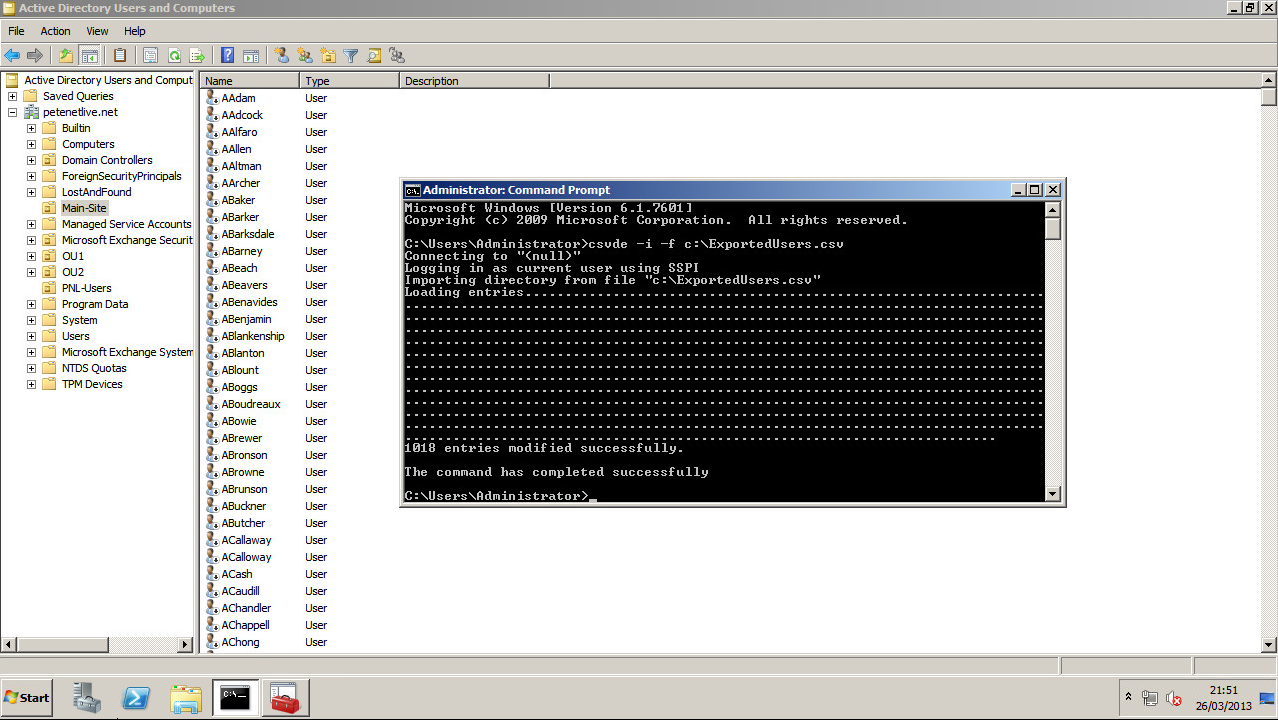
1. On the target domain, (if you are not importing the OU’s, then make sure they already exist). The syntax for the import is;
csvde -i -f c:\filename.csv

9. Your users should be imported.
10. By default they will be disabled, but you can bulk enable them.
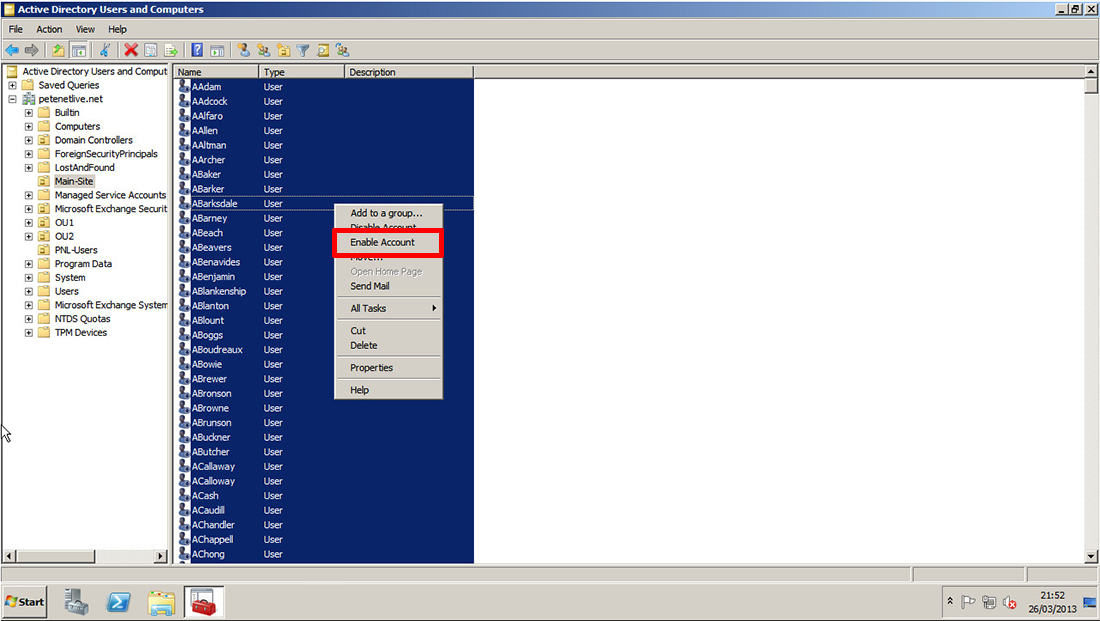
11. At this point all the users have no password, this can also be bulk set.
https://www.petenetlive.com/KB/Article/0000794